How to Identify a Car Part by Photo (US Guide)
Step-by-step workflow for DIYers and shops: what to photograph, how OEM lookup works, and when to trust AI part identification.
chevron_rightWhy photos beat guesswork
Unknown components cost hours in forums and catalog hunting. A clear photo plus structured AI output gives you a starting OEM reference, likely fitment years, and retailer shortcuts—especially useful for salvage yards, collision estimates, and weekend repairs across the US.
PartFinder AI is built for that first pass: upload an image, optionally add year/make/model, and review a structured report in seconds.
chevron_rightWhat to include in the picture
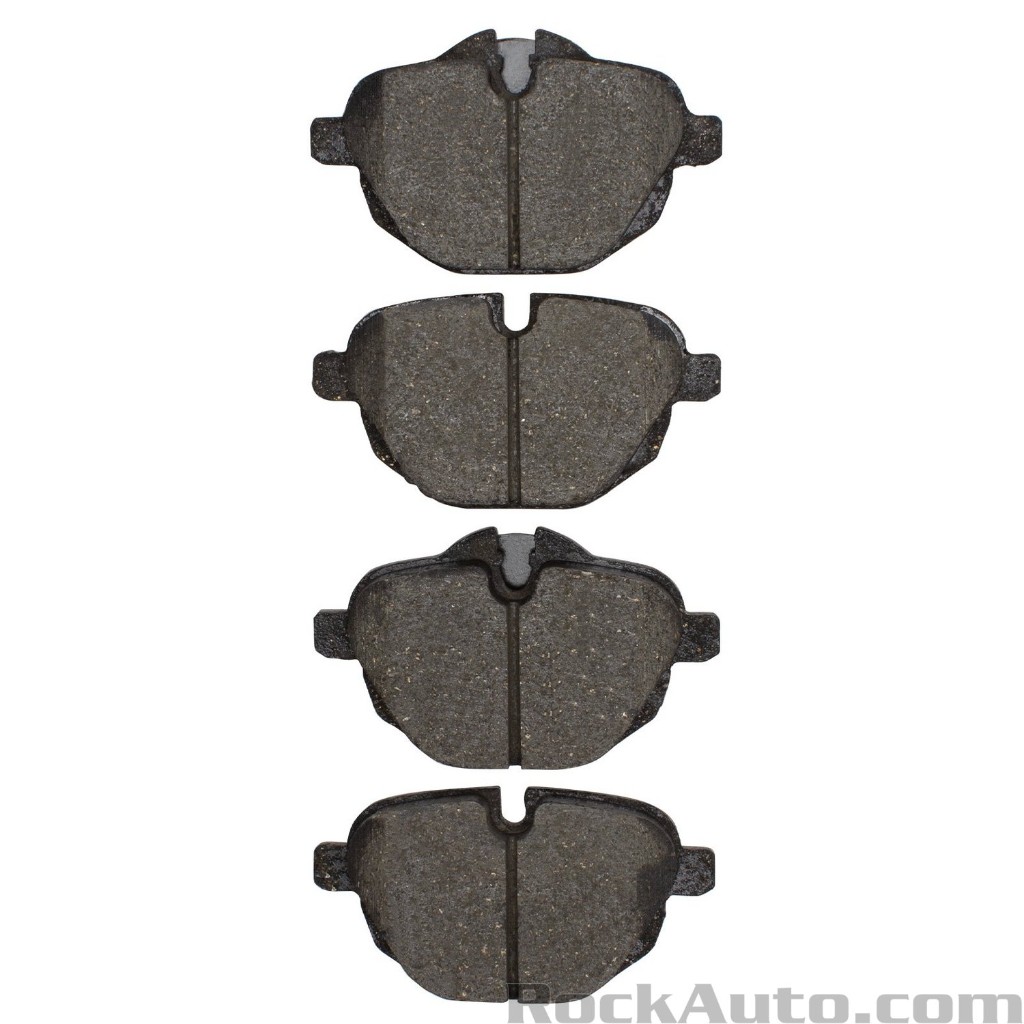
Fill the frame with the part. Capture casting numbers, stickers, or barcodes when visible. Use daylight or shop lighting; blur is the enemy.
Include context when possible: mounting brackets, left/right orientation, or damage patterns help the model infer category (suspension, cooling, electrical, etc.).
chevron_rightVerify before you buy
AI output is a research aid, not a warranty. Always confirm with your VIN, trim level, and the parts counter or OEM catalog. Torque specs and safety-critical work belong to a qualified technician.
Use retailer links as shortcuts—inventory and supersessions change daily on Amazon, RockAuto, AutoZone, and O'Reilly.
Try PartFinder AI free
Upload a part photo and get OEM-style codes in seconds.
Get startedarrow_forward